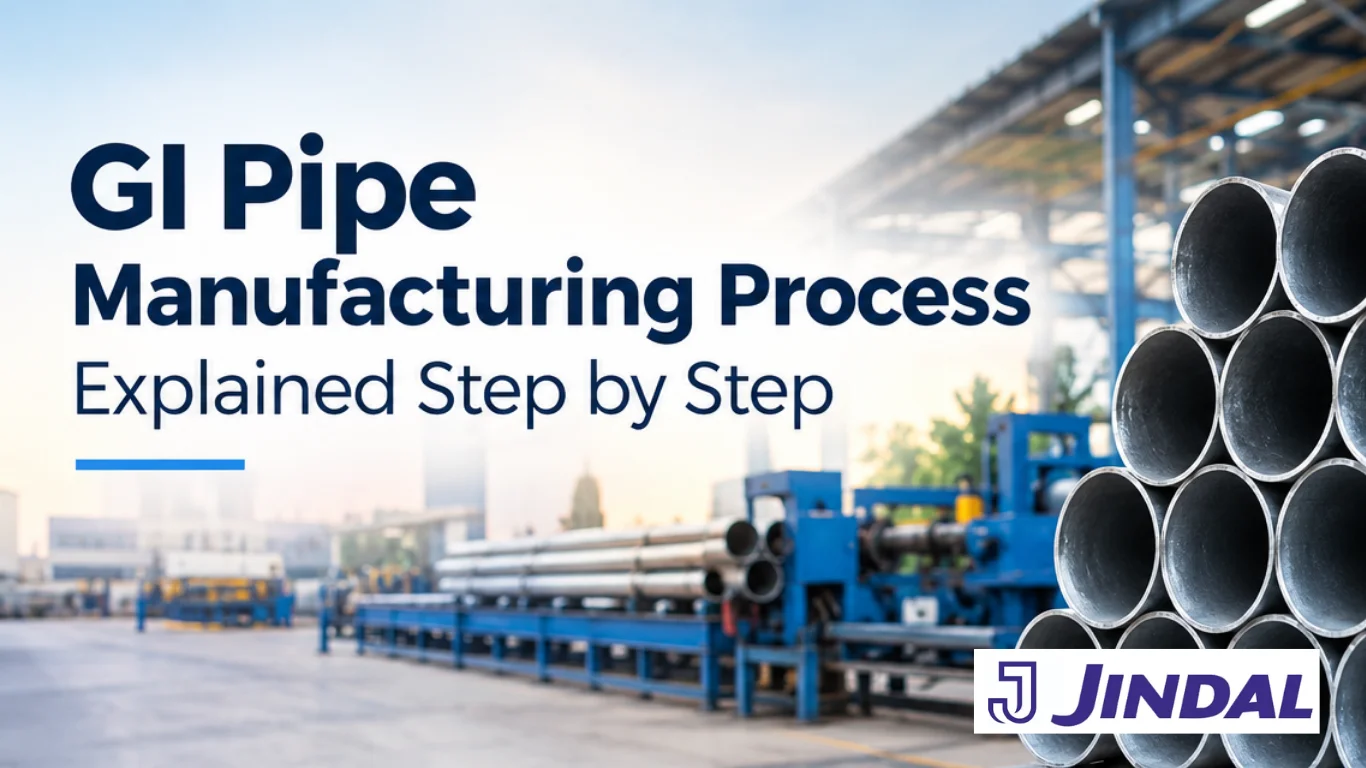
GI Pipe Manufacturing Process Explained Step by Step
A galvanized pipe looks simple: a silver-grey steel tube that can sit in the ground or on a roof for years. But a lot happens before it reaches your site. A flat steel coil has to become a round, welded tube, then get cleaned, dipped in molten zinc and tested.
This guide walks you through the GI pipe manufacturing process in plain language. You’ll see how the base pipe is made, how the zinc coating is applied, which tests matter and what to check before you buy.
What Is a GI Pipe?
A GI (galvanized iron) pipe is a steel pipe coated with zinc to protect it from corrosion. The zinc works as a barrier against moisture. It also protects the steel sacrificially: the zinc corrodes first and shields the steel underneath, even at small scratches.
That’s why the process has two halves:
- Making the steel pipe, from coil to finished tube
- Galvanizing it, which means cleaning, dipping and finishing
GI Pipe Manufacturing Process at a Glance
| Stage | What happens | Why it matters |
|---|---|---|
| 1. Raw material selection | Steel coils are chosen by grade and chemistry | Sets strength and weldability |
| 2. Slitting | Coil is cut into strips of the right width | Decides pipe diameter |
| 3. Roll forming | Strip is rolled into a round tube | Gives the pipe its shape |
| 4. ERW welding | Edges are fused along the seam | Creates a continuous tube |
| 5. Heat treatment | Weld seam is normalized | Improves seam properties |
| 6. Sizing and straightening | Pipe is corrected to size and made straight | Ensures accurate dimensions |
| 7. Surface preparation | Degreasing, pickling, rinsing and fluxing | Lets zinc bond properly |
| 8. Hot-dip galvanizing | Pipe is dipped in molten zinc | Forms the protective coating |
| 9. Cooling and finishing | Pipe is cooled, passivated and inspected | Stabilizes the coating |
| 10. Testing and dispatch | Mechanical, dimensional and coating checks, then bundling | Confirms the pipe meets the standard |
Part 1: How the Steel Pipe Is Made
Step 1: Raw material selection
Everything starts with a hot-rolled steel coil. Manufacturers choose coils by grade, thickness and chemical composition, because these decide how strong the pipe will be and how well it welds. Poor-quality coils show up later as weak seams, uneven walls or patchy galvanizing.
Step 2: Slitting
The wide coil is unrolled and cut lengthwise into narrower strips, with the width matched to the pipe diameter being made. Precise slitting gives clean edges and uniform strips, which makes the welding step far more reliable.
Step 3: Roll forming
The strip passes through a series of rollers that gradually bend it into a round tube. Shaped rolls guide the edges so they meet cleanly at the seam.
Step 4: ERW (electric resistance) welding
Where the two edges meet, a high-frequency electric current heats them until they fuse under pressure. This is ERW, or HF-ERW when high-frequency current is used. It needs no filler metal and produces a continuous welded tube at high speed.
ERW is widely used for GI pipes in water lines, structural work and general fabrication. Other routes exist for specific needs. For example, IS 3589 water and sewage pipes are made by high-frequency induction welding, and seamless pipes use a different process altogether.
Step 5: Heat treatment
Right after welding, the seam area can be hard and uneven. A controlled heat treatment such as seam normalizing refines the structure and improves the mechanical properties of the weld zone.
Step 6: Sizing and straightening
The tube then passes through sizing rolls that correct its diameter and roundness, followed by straightening and cutting to length. Standard lengths are common, and other lengths are made to order. At this point the pipe is a finished black steel pipe, ready for galvanizing.
Part 2: How the Pipe Is Galvanized
Zinc only bonds well to clean steel, so most of the work in good galvanizing happens before the pipe ever touches the zinc.
Step 7: Surface preparation
This usually runs in several stages:
- Degreasing: removes oil, grease and dirt left from manufacturing.
- Rinsing: washes off the cleaning chemicals.
- Pickling: an acid bath strips away rust and mill scale.
- Rinsing again: removes the acid.
- Fluxing: a flux solution coats the steel so molten zinc wets the surface evenly, and the pipe is then dried.
If any of these steps is poor, you end up with bare patches or a coating that flakes. That’s why experienced buyers ask about surface preparation first.
Step 8: Hot-dip galvanizing
The prepared pipe is immersed in a bath of molten zinc at roughly 450 degrees Celsius. The zinc reacts with the steel and forms zinc-iron alloy layers, topped by a layer of nearly pure zinc. This makes hot-dip galvanizing a metallurgical bond, not just a layer of paint. When the pipe is withdrawn, excess zinc is drained off, and the inside is often cleared too so the bore stays smooth.
Step 9: Cooling, passivation and finishing
The pipe is cooled, commonly by air or a quench. A passivation treatment may follow to protect the fresh zinc from early white rust during storage and transport. Finally, the pipe is inspected for drips, rough spots and uncoated areas.
Zinc Coating: What the Numbers Mean
Zinc coating is usually specified as mass per unit area (g/m2, also written GSM), and sometimes as thickness in microns. IS 4736 sets the requirements for hot-dip galvanized tubes. For tubes up to 6 mm thickness, BIS documentation for IS 4736 specifies a minimum zinc coating mass of 360 g/m2 for the applicable requirement.
GSM and microns are different measurements, so don’t treat them as a one-to-one conversion. In general, a thicker coating can give greater corrosion protection, but service life also depends on the environment, coating quality and installation. Always check the current edition of the standard and your project specification.
Quality Tests in the GI Pipe Manufacturing Process
Good manufacturers test at several stages, not just at the end. Common checks include:
- Hydrostatic test: confirms the pipe holds pressure without leaking.
- Tensile and yield strength: confirms mechanical strength.
- Chemical analysis: verifies the steel composition.
- Eddy current test: detects weld and wall defects without damaging the pipe.
- Flattening, bend and flaring tests: show whether the pipe and weld hold up under deformation.
- Coating measurement: confirms the zinc layer in g/m2 or microns.
- Dimensional checks: diameter, wall thickness, length and straightness.
How to Check a GI Pipe Before You Buy
Knowing the process makes it easier to spot a poorly made pipe:
- Look at the surface: the coating should be smooth and continuous, with no bare spots or heavy drips.
- Check the markings: pipes made to IS 1239 should show the manufacturer’s name or trademark, the IS number and the class.
- Ask for certificates: request the test certificate and the coating test report.
- Ask about traceability: a heat number or batch reference lets you trace the pipe to its steel batch.
- Verify the BIS licence: confirm the licence number through the BIS Care app.
- Store it properly: keep pipes dry and off the ground to avoid white rust.
GI Pipes From Jindal Supreme
Jindal Supreme, based in Hisar, Haryana, has made steel pipes since 1974. Its 16-acre plant has ERW tube mills, slitting lines, an in-house testing laboratory and three hot-dip galvanizing lines, installed in 1985, 2018 and 2023. Its galvanized pipes follow the flow described above, from coil slitting through forming, HF-ERW welding, heat treatment, galvanizing and testing.
Its BIS licence scope lists IS 1239 pipes from 15 to 150 NB in light, medium and heavy classes, in black and galvanized finish, with zinc coating under IS 4736 at a minimum of 360 g/m2. For current sizes, certifications and availability, visit the GI pipe product page or download the catalogue.
Final Thoughts
The GI pipe manufacturing process comes down to two jobs done well: building a sound welded steel tube, then giving it a clean, even zinc coating. Weak steel, a poor weld or rushed surface preparation will all show up later as early rust or failures. Understand the steps, ask for the right paperwork and check the finish, and you’ll know a well-made pipe when you see one.